Follow this easy step-by-step guide to replace your 2011-2024 Ford Explorer windshield wiper blades in 5 minutes or less.
What You Will Need
- Flathead screwdriver
- Adjustable pliers
- Replacement wiper blades for your Explorer. Here are some great options to choose from:
Step 1: Pivot the wipers away from the windshield.

Step 2: Release the wiper blade attachment to the wiper arm.
Depending on the brand of wiper blades currently on your Explorer, there are several ways to release the connection point. One way (shown here) is to slide a screwdriver between the blade assemby and the wiper arm. There could be horizontal pinch clips or a cover that holds the blade to the wiper arm. Visually identify which type of connection it is, then release the blade from the wiper arm.
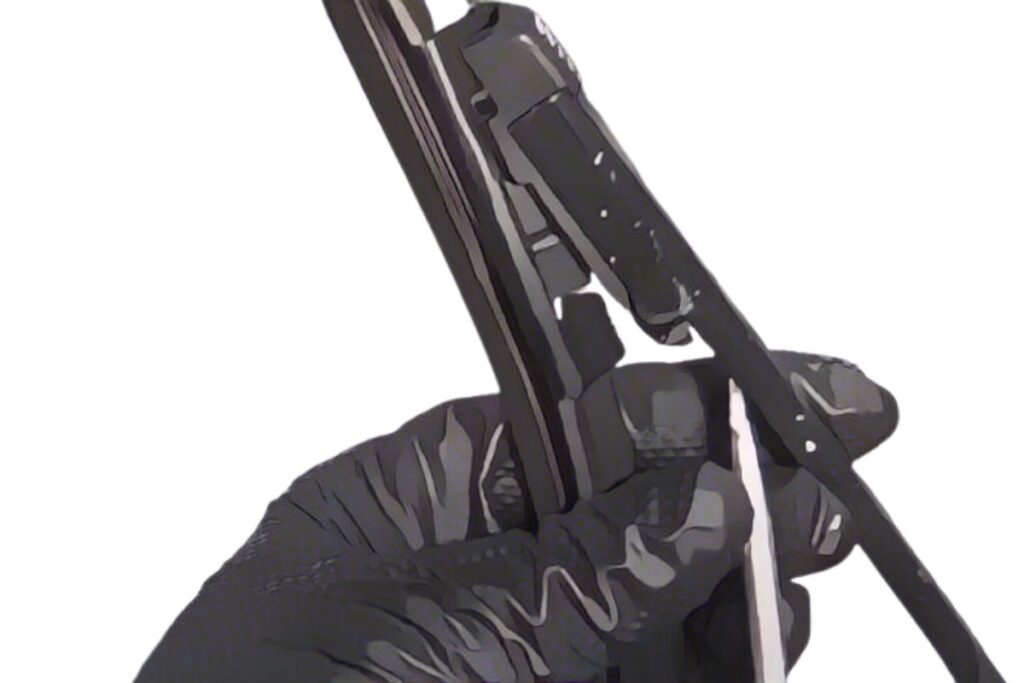

Step 3: Pivot or slide the wiper blade off the end of the arm.
A slide-type blade should slide out of the arm easily after you release the cover. With a pivot type blade you may need to pivot it 180 degrees to lift it off the small hooked tab.

Step 4: Install the new wiper blade onto the end of the arm.
If your new blade is a pivot design, fit the flat hooked end into the matching notch in the blade, then pivot the blade downward. If your new blade is a slide-in design, simply slide the blade assembly into the rectangular blade arm end.

Step 5: Lock the new wiper blade into place.
After sliding or pivoting the new wiper blade onto the arm, lock it into place with firm pressure until it clicks.
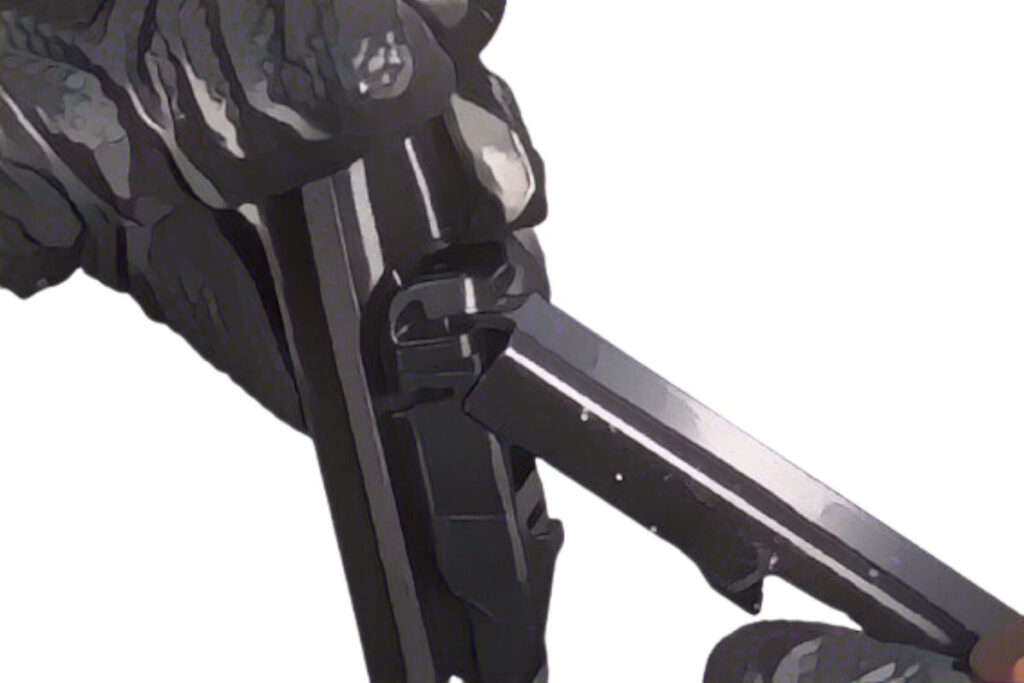

Step 6: Lower the wiper arm down so the new blade is in contact with the windshield again.
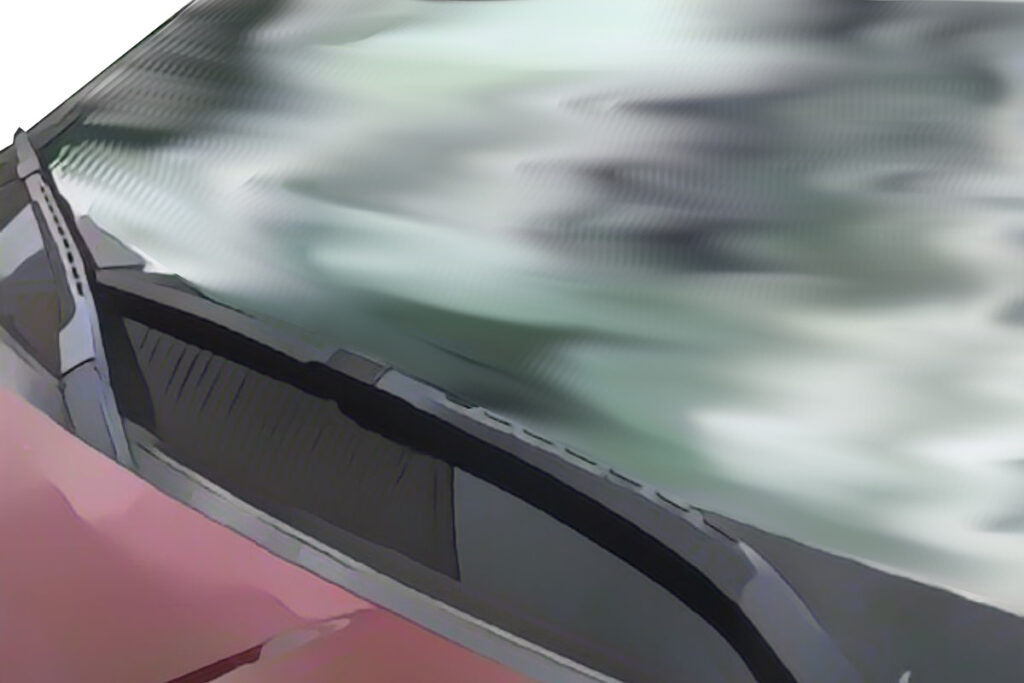
Step 7: Repeat to replace the other side wiper blade.
The AutoPros.online team is dedicated to bringing you high quality automotive content for professionals and car enthusiasts, with topics like auto detailing, performance modifiations, repairs and automotive news.

