As an Amazon Associate, AutoPros earns commissions from qualifying purchases made through links in this post.
Not much in life is more satisfying than watching the paint on your vehicle change as you polish it. Those of us who like to detail cars and baby our vehicles can understand the satisfaction I am talking about.
About a year ago, I decided to perform a paint correction job on my car. This car had been neglected for over a decade, as it was only washed once in a while via automatic car wash. Needless to say, the vehicle was covered in swirls and light scratches.
Luckily for me, the vehicle was in Florida its entire life, so there was no rust or anything major I had to deal with. Aside from a few small dents, it was in great shape cosmetically. Unfortunately, I didn’t take many photos of the process, but I do have an excellent “after” photo to share.
For this walk-through of my process, I’ll be covering what it’s like to perform paint correction with Meguiars Ultimate Compound and Clarity Restorer. I chose Meguiars, because it’s a well-known brand, known for providing consumers with high-quality products at affordable prices. I trust them.
Step 1: Wash the car
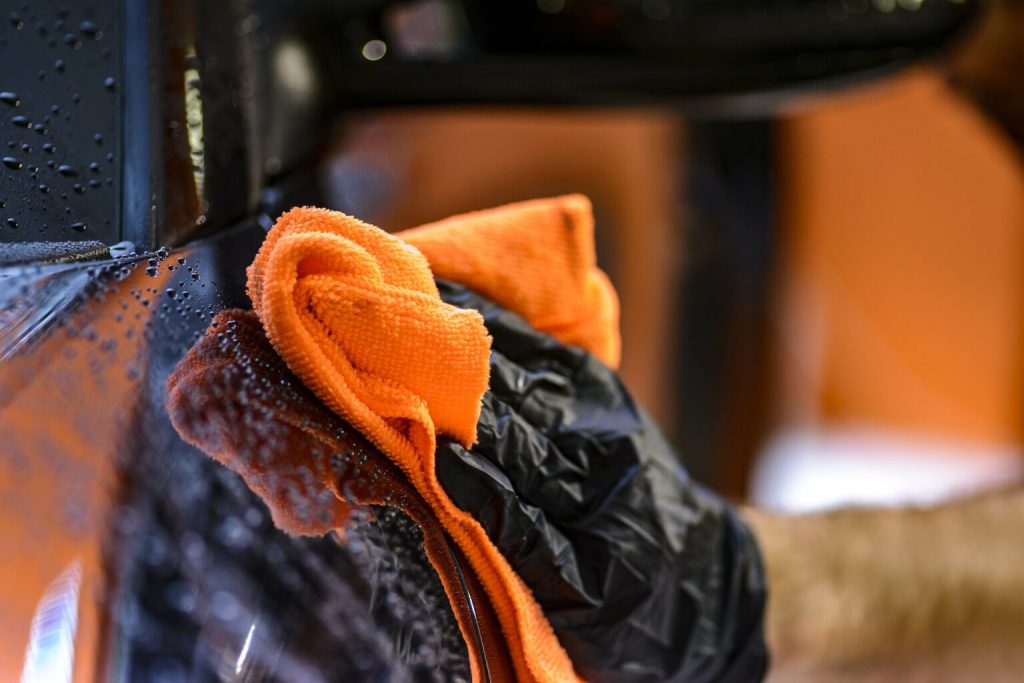
At the time, I didn’t have a pressure washer or foam cannon, so I was using one of those foam guns that attach directly to a standard hose. I used two 5-gallon buckets, one with soapy water and one for rinsing off my mitt.
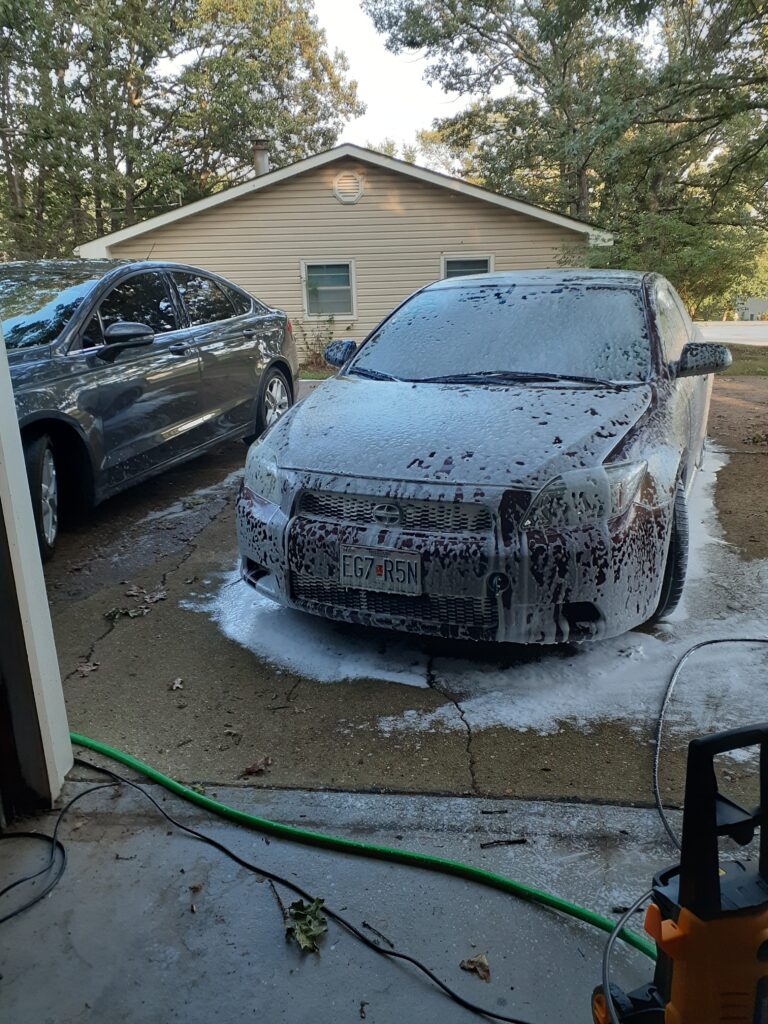
They say it’s good practice to start with the wheels, so that’s exactly what I did using a wash mitt specifically for them. I didn’t have a wheel brush, but the end result was just fine.
After scrubbing the wheels clean, I rinsed the car. Using my cheap foam gun, I soaked the car and wheels in soapy water, then grabbed my wash mitt and began to clean from the top down. The foam gun actually has more benefits than a foam cannon now that I think about it.
Benefits of using a foam gun over a pressure washer and foam cannon
- Easily switch between soapy water and rinsing water
- Multiple adjustments – such as shower, jet or mist
- More affordable
- Less equipment = easier clean up when done washing vehicle as you don’t have to do anything but disconnect your gun, and dump your water buckets.
After giving it a good wash, I dried the vehicle using high quality Chemical Guys microfiber drying towels and then moved on to the decontamination step.
Step 2: Decontaminate and Clay
Before performing this paint correction job, I did a ton of research. Hours upon hours of reading forums and watching videos, just to make sure I did it right the first time. I do believe all that time researching paid off and saved me from mediocre results.
Some people just clay the vehicle, but I wanted to do everything right, so I bought a product called IronX by CARPRO. The purpose for this step was to remove the iron dust deposits that embed themselves in the surface of the clear coat and cause it to break down. This is the product every professional recommends, so I knew it was legit. I sprayed down my car, let it work its magic, and then rinsed off.
After that, I started to clay the car. I had recently ordered a 4-pack of clay bars on Amazon that came with a microfiber cloth, so I was ready to go. Instead of wasting money on clay lube, I just put more soap in my foam gun and sprayed an area as I worked my way around the car.
That’s got to be the quickest way to clay a car, and it’s much more affordable. It worked just fine for me, as I had plenty of lubrication the entire time.
The end result was a smooth car. Slicker than ever. I was very impressed with myself when I was done, because at this point I could tell how clean the car had become and knew it was ready for the next step.
Step 3: Meguiar’s Ultimate Compound
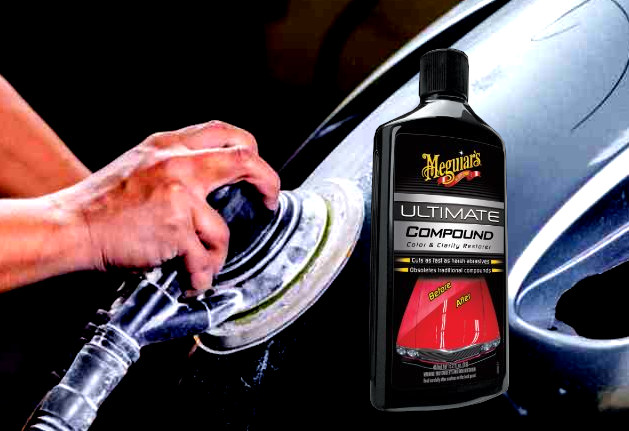
This is why I purchased my Avid Power DA Polisher (you can read my review here) and I was very excited to try it out on my car. It was also my first time using Meguiars Ultimate Compound. I did a test spot on the hood, and was shocked at how well it worked.
All the light scratches on my hood were gone almost immediately. I had the power setting on my DA polisher at around 4-4.5, and overlapped each area thoroughly. Taking my time, I did the entire car in about 2 hours. It’s time consuming, but I wanted to do the best job possible as the car had never been waxed or polished in over 10 years.
During this stage, I noticed the color change dramatically. I would buff a spot, then wipe it clean with a microfiber. For anyone looking to buff a car using a DA polisher for the first time, I recommend you take your time and do it right. You’ll get quicker with experience, so never rush through it.
Pay close attention to the pattern used when applying Ultimate Compound in the video above.. that’s exactly how I did it. It’s very simple, and it works. I use that same method when polishing.
Step 4: Meguiar’s Ultimate Polish
This is the step that made me fall in love with my car. Let me just say, I was never proud of my car. It was free to me, and therefore something I just had and used to get to work and back. It’s not a car I would personally pick, especially as the color is a maroon – almost purple color. Meguiars G19220 Ultimate Polish is a great product, and you can read all the reviews and feedback as 99% of the people who used it loved it.
However, once I started polishing the car, I noticed the color change. It got deeper, darker even. By the time I finish polishing the car, there were no swirls under the light. It looked perfect.
I polished the car using the 3.5 speed setting on my polisher.
Step 5: Meguiar’s M26 Hi-Tech Yellow Wax
There’s a reason why I chose M2616 Hi-Tech Yellow Wax – it is known as one of the best coatings to use on a black car. It’s known for providing the paint with crystal clear super ultra high-definition reflections. Best of all, it darkens the color of the car even more.
Using a speed setting of just 3 on my polisher, I applied the wax on my vehicle, working one section at a time. Starting with half of my hood. It was a lot quicker to apply this wax than to polish the car, so this step was a relief.
But that reflection though!!!
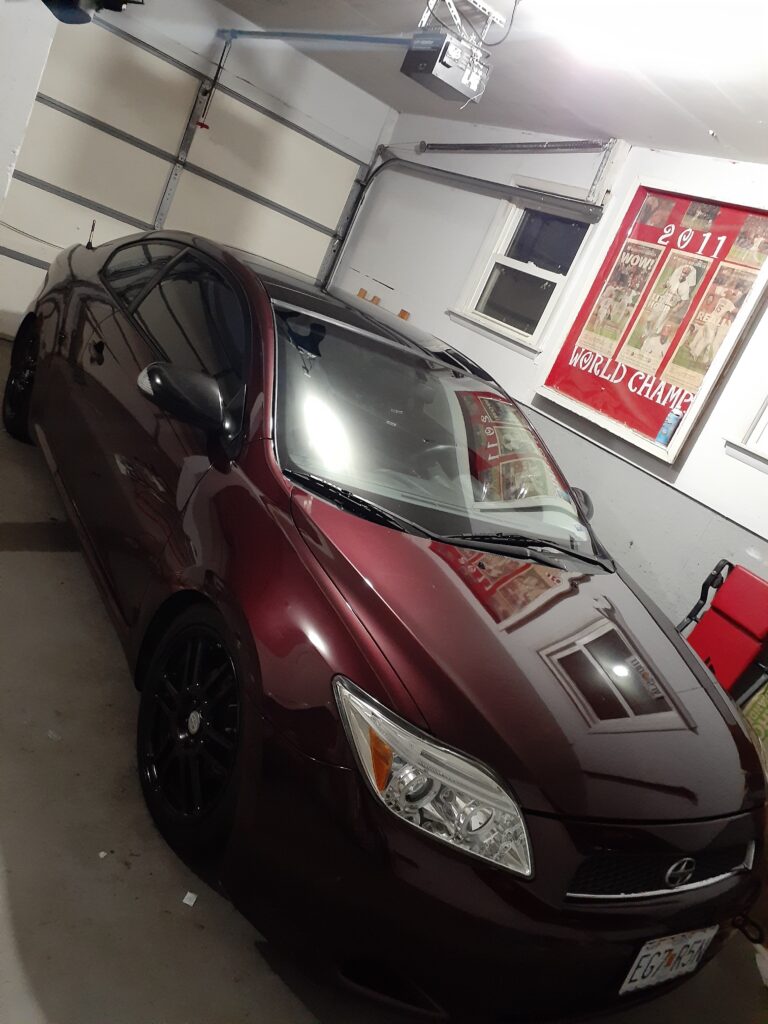
As you can see in the image above, my car was looking new again. Sure, a “before” photo would make this more dramatic – but just imagine, the car looked faded before. In fact, I’ll find an example of what it used to look like and paste it below this paragraph…
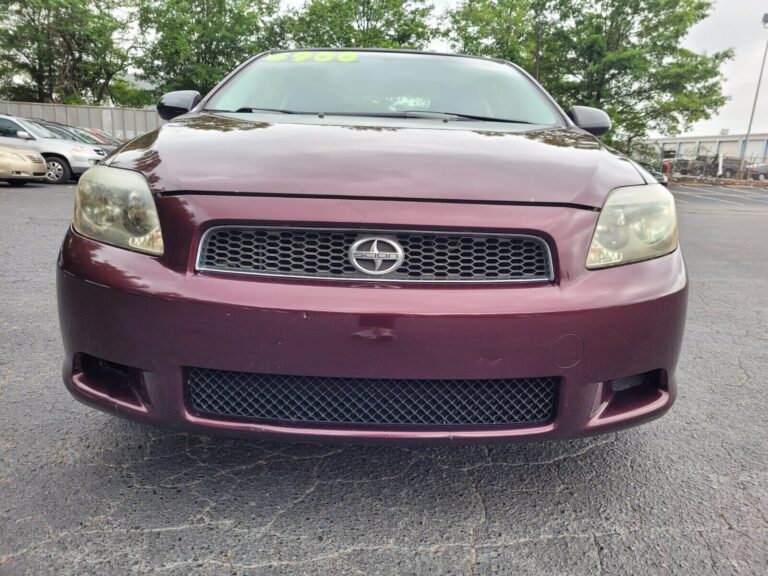
So yeah, it used to look like that before this entire paint correction job. It actually looked worse. The only thing that was better about my car was the headlights, but they were recently installed and brand new. Still, these cars have the same exact OEM paint, which is 3P2 Black Cherry Pearl.
The Ultimate Polish and Hi-Tech Yellow Wax really made the car have that “wet” and darker appearance. For months, it looks slick and I used to love checking it out as I walked up to it in a parking lot. I would park next to new vehicles and be amazed at how much better my car looked.
Conclusion
So this year, I decided to thoroughly detail my car again. This time, I skipped a few steps. I washed, clayed, and then polished before waxing. I used the same products. Here’s a photo after polishing a section of the hood…
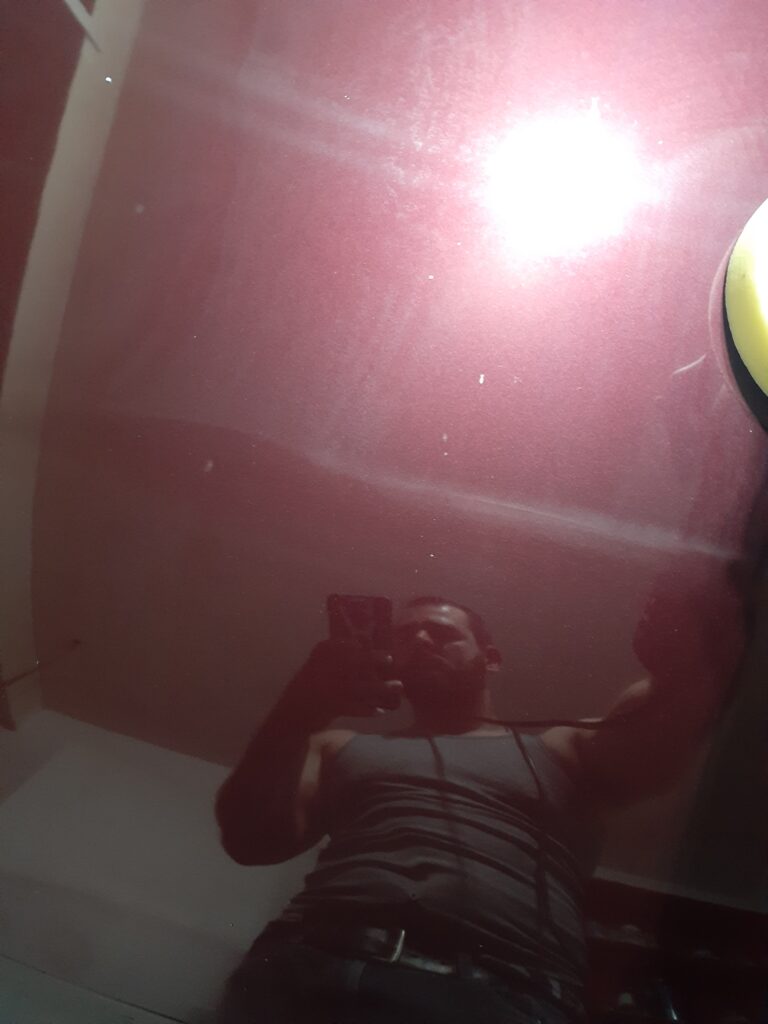
Still got that reflection!! If you look closely, the bottom half has a darker tone, so you can clearly see where I polished it. That’s the power of Meguiars Ultimate Polish, don’t underestimate this stuff.
My car has remained in better shape cosmetically since I first performed this paint correction job, and I have been applying a spray wax once a month to keep it protected. The M26 Hi-Tech Yellow Wax seems to last for at least 3 months on its own, and possibly even longer if you applied a second coat.
Should You Do It Yourself?
Thinking about performing a paint correction job on your car? It’s a lot of work, and it’s very time consuming. It took me about 8-10 hours total, spread out between 2 days. However, it’s very exciting to see the changes to your vehicle as you complete each step. For an enthusiast, it’s probably one of the most fun things you can do in your spare time.
Is it hard? Yes and no. It’s not complicated. It’s physically hard. Harder than it looks when you see someone on YouTube do it. Do you need to go to school to learn paint correction? Possibly, as older vehicles with single-stage paint require a different way of doing things.
However, there’s so much knowledge online, especially from Mike Phillips, that you can learn it all on your own. You can read many of his guides on auto detailing and paint correction on the Auto Geek Online forums.

David was a diesel mechanic for years, working on commercial vehicles and performing DOT inspections. Now, he specializes in web development and digital marketing for the auto industry while running a part-time auto detailing business from his garage.
