As an Amazon Associate, AutoPros earns commissions from qualifying purchases made through links in this post.
It’s been a while since we posted an update on the 98 Cherokee project, but a lot has been accomplished. A few little problems have been fixed, and the engine is running like new, with all the trouble codes gone.
Here’s a brief rundown of what we’ve done so far:
- Fixed rear door handle so it will open from the outside
- Fixed electric window controls so they all work now
- Changed engine oil
- Replaced TPS, MAP sensor, CPS, and both o2 sensors
- Got the cluster gauges to work again
- Replaced the blower motor resistor to fix fan settings
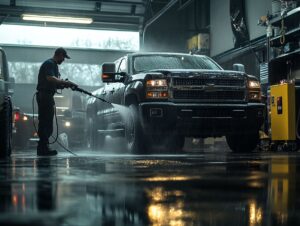
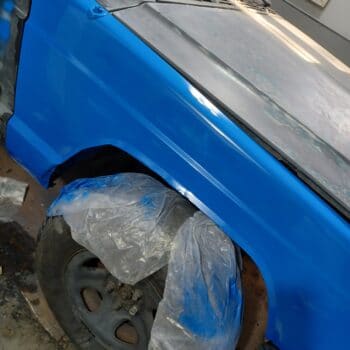
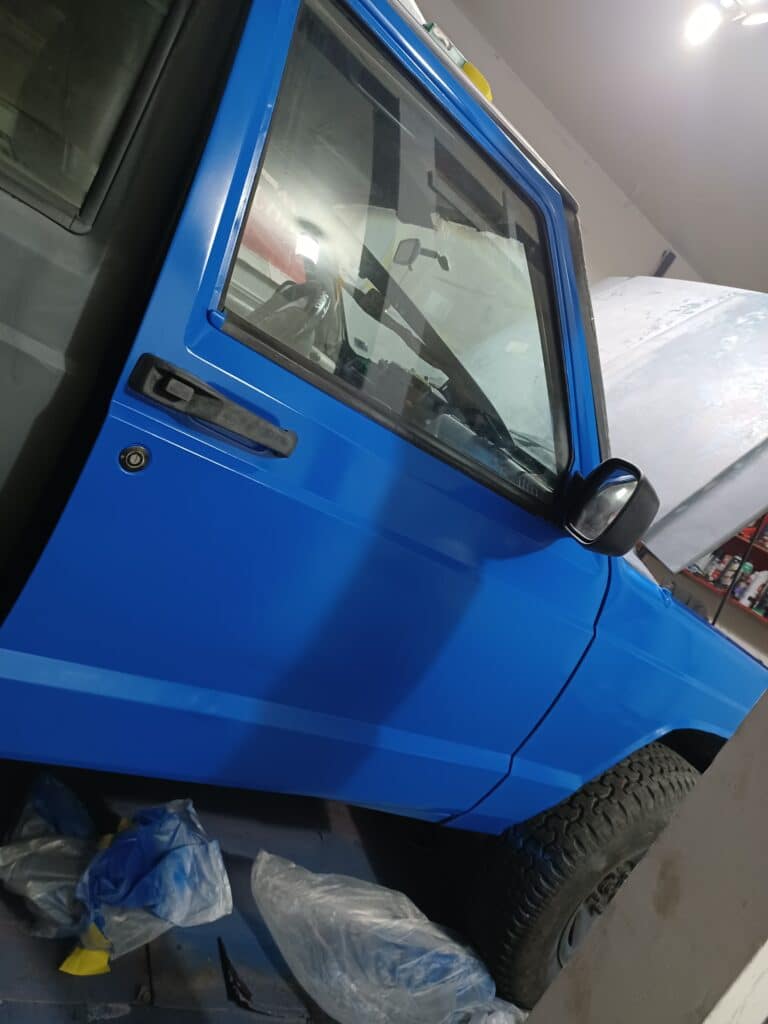
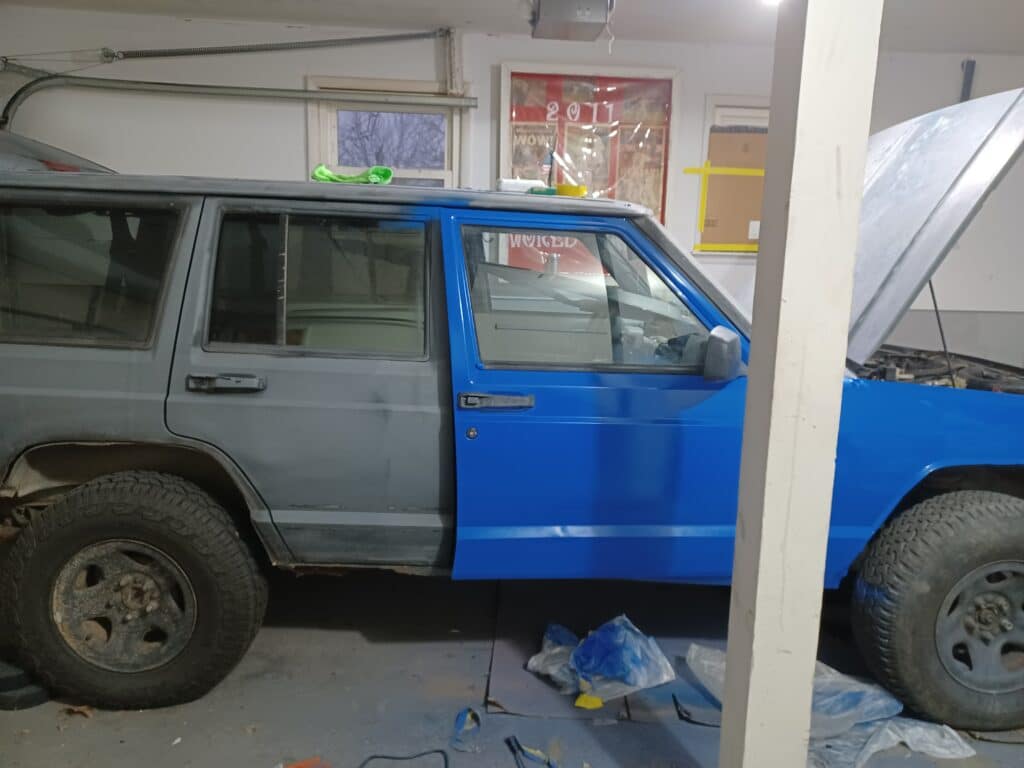
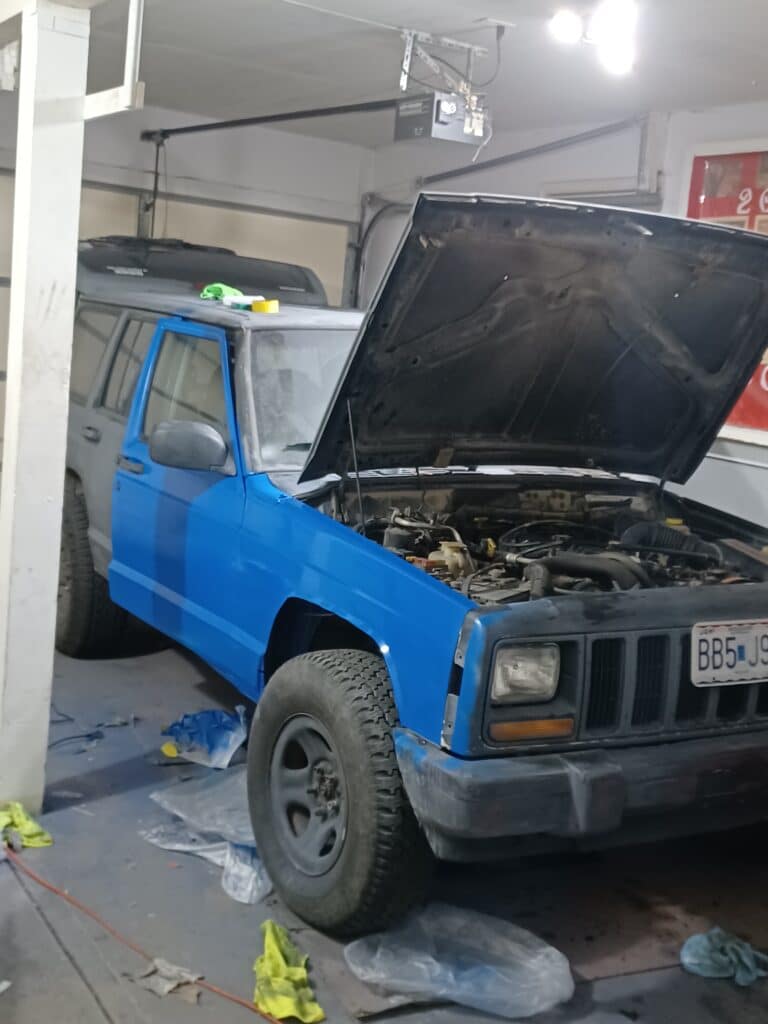
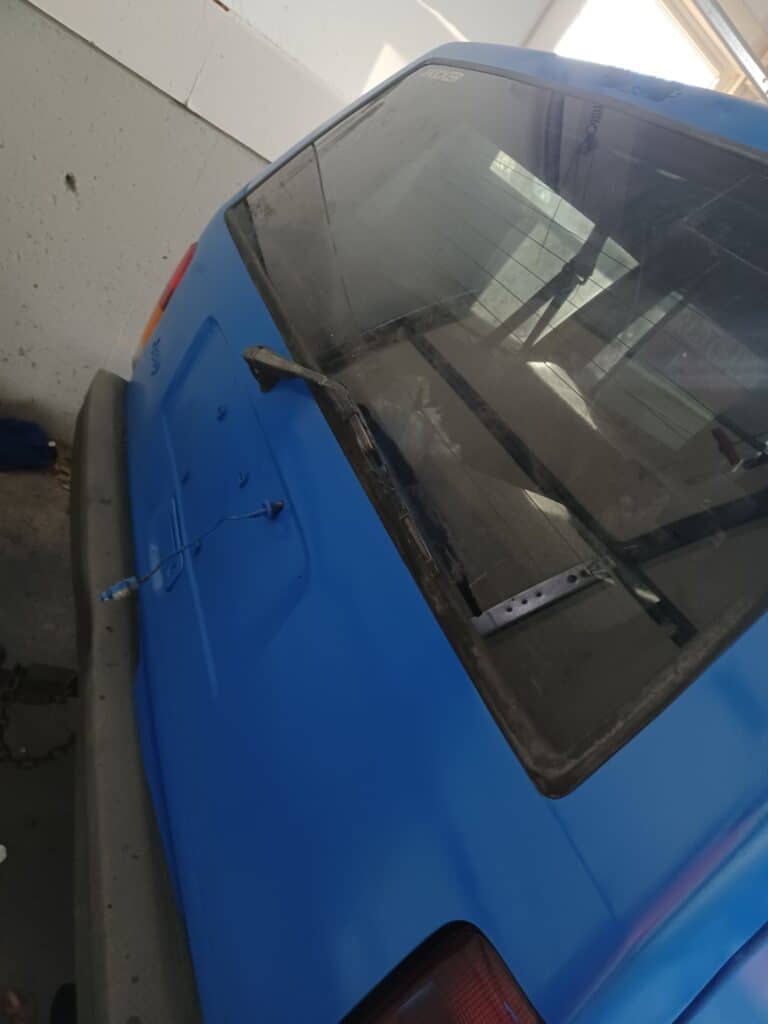
- Painted the back and right side of vehicle
Painted right side of the XJ
Painted blue with Rustoleum 2X Brilliant Blue, plus 3 coats of Rustoleum 2X Gloss Clear. Painting larger areas with the spray cans can be a challenge at first, so work in sections and move quickly. The gloss spray cans seemed to spray better, not sure why but they offer way better coverage than the Brilliant Blue cans.
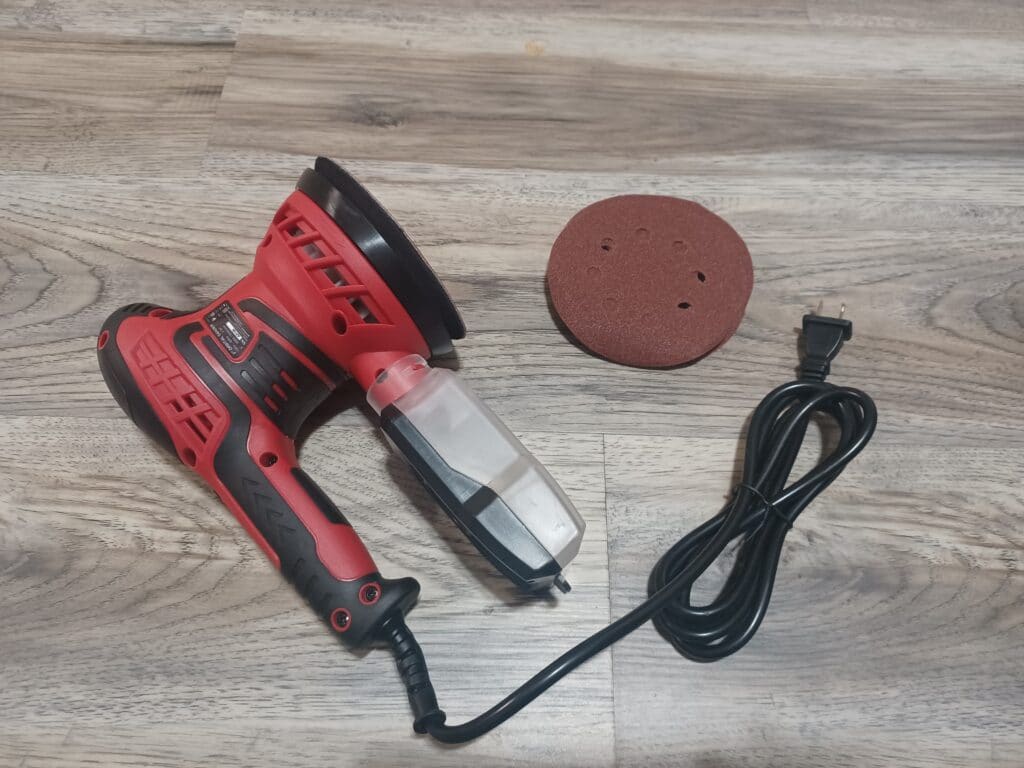
When it comes to painting, most of the work is prep work. To get the panels ready for paint, use an orbital sander (or do it by hand with a sanding block if you have a lot of free time) and get to work. For the Cherokee, we started with 180 grit and worked up to 600.
It’s really worth it to buy an orbital sander, they’re not expensive. The Avid Power orbital sander is only about $35 on Amazon.
4 cans of brilliant blue and 3 cans of clear have been used so far. That’s 3 coats of blue, and 3 coats of clear. Our cost is about $3 per can. That’s $21 in paint.
One panel had a couple of small runs, this is apparently what happens when you paint in cold temperatures. This was quickly fixed and re-sprayed when it warmed up. These 2x cans spray really well and you shouldn’t get runs unless it’s very cold or you’re spraying it too thick.
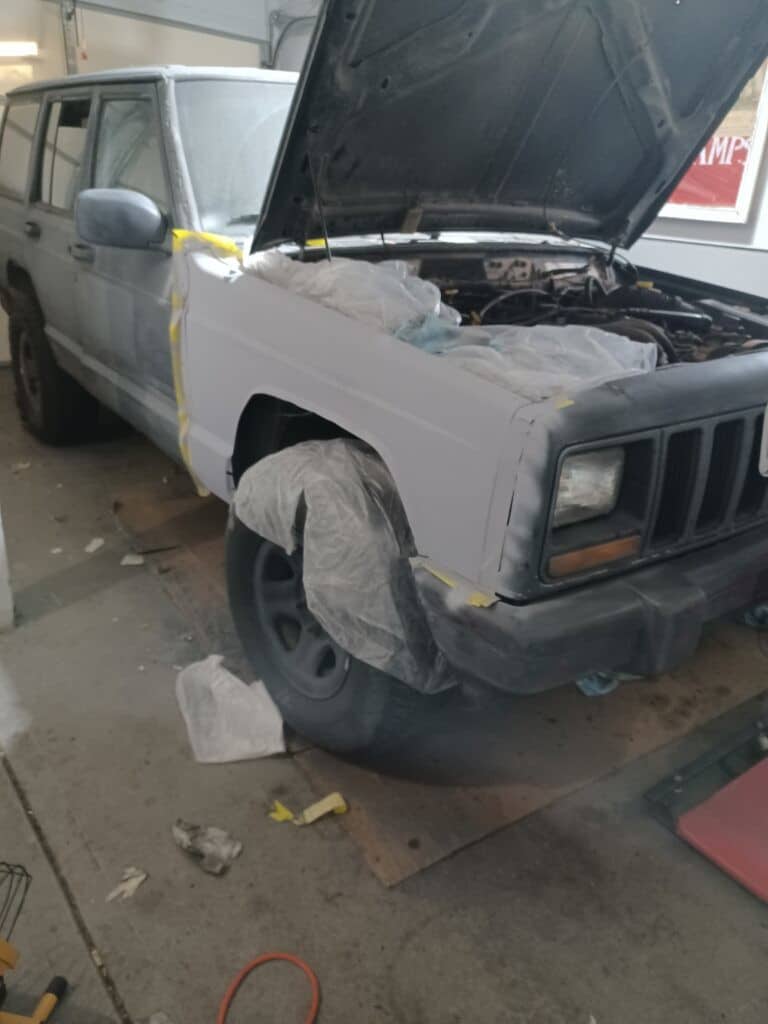

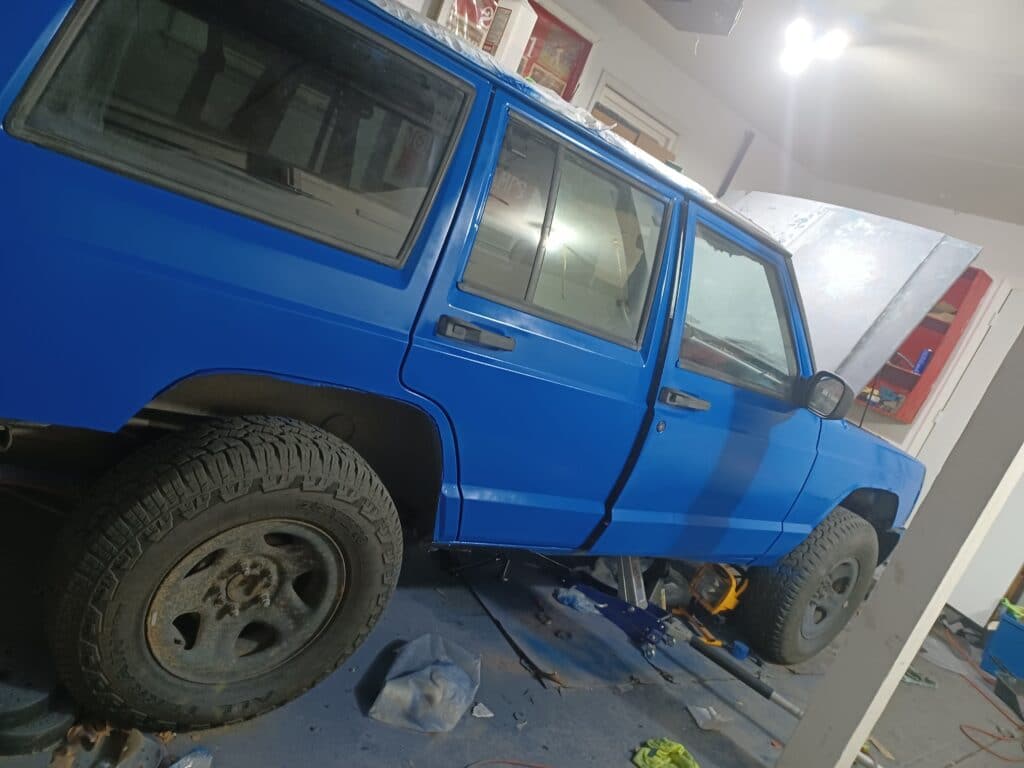
There is orange peel, but that was to be expected. We’re going to wet sand, buff with rubbing compound, polish, and wax every panel to get a nice reflective finish.
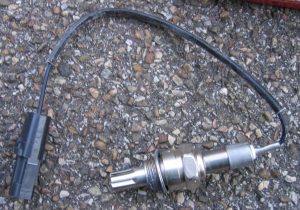
Replaced sensors
This thing had so many trouble codes it was almost hard to determine a starting point for getting it to run right. Diagnosing the trouble codes wasn’t difficult, and it turned out that the old Jeep had bad sensors. They probably weren’t meant to last 300k+ miles or 20+ years.
The throttle position sensor, MAP sensor, crankshaft position sensor, and both O2 sensors were replaced. To replace the TPS and MAP sensor, it’s best to remove the throttle body completely and then replace them both at once. They’re right next to each other.
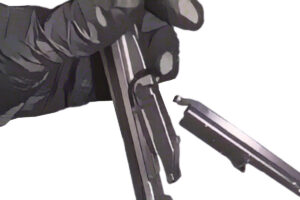
Both O2 sensors were difficult to remove, even after soaking in PB Blaster penetrating oil for a few days. However, cutting the wires and breaking off the sensor allows you to put on a regular 7/8 deep socket. Use a large breaker bar or ratchet to get it off.
Spray penetrating lube on it while you carefully go back and forth between tightening and loosening the sensor until it’s completely out. Do this to make sure the new one threads on easily.
If you have a California vehicle, it may have four O2 sensors. This ’98 Cherokee only had two and wasn’t designed to meet California regulations.
The crankshaft position sensor is a little challenging to get at, but a couple of extensions made it doable. See the video below on replacing a crankshaft position sensor in a Cherokee XJ if you need to do this too.
Found cause of noise near transmission (exhaust mounts broke)
While replacing the 2nd O2 sensor, it became clear why the exhaust was rubbing and making an ugly noise when the engine was running, even at idle. At first, it sounded like a transmission issue. But, definitely a loose exhaust issue. All of the exhaust mounts have been rusted/broken off.
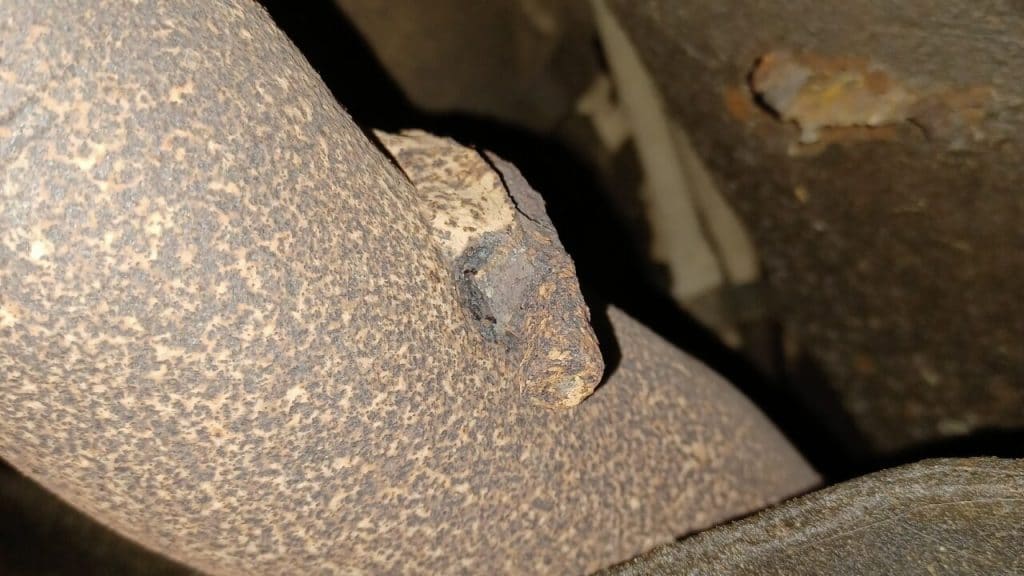
For now, hose clamps will work just fine to keep the exhaust in place. After the rust has been cleaned off thoroughly with a wire brush we will do some welding for a more permanent fix. Noise is now gone.
Changed Engine Oil
This took 6 quarts of Amazon Basics full synthetic 5w30 (click for price) with a K&N oil filter.
K&N PS-2004 Oil Filter (click for price)
Total cost of oil change: $31.36
Fixed cluster gauges
This is an interesting one, and it required making a jumper cable to combine multiple wires going to the dash cluster. At first, we thought it was just dirty connections, a blown fuse, etc. Here’s a video on how we fixed the cluster gauges, it worked for this Jeep.
Started working on radio
The radio was working when we first drove the Jeep. It wasn’t mounted properly. It was hanging around in a big open space. But, it worked. We ordered a new single din mounting frame and a new sleeve for the radio, as the original one was missing.
We go to plug everything and test it out before mounting… nothing. It doesn’t turn on. It doesn’t light up. Nothing.
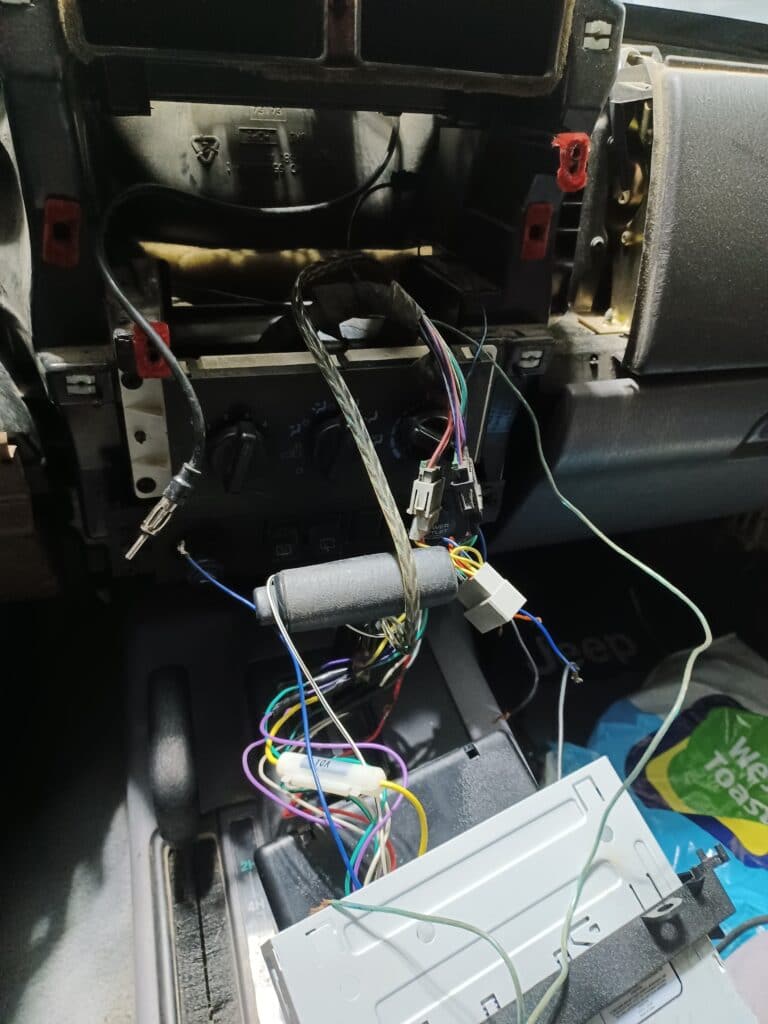
That’s where we’re at now. Going to double-check all the wires and grounds and get this thing working again so we can find out which speakers aren’t working. Here’s what I used:
Radio Sleeve
Single DIN Cherokee Dash Kit (click for price)
Ordered suspension parts
The sway bar is gone. This should have been expected in an old beat-up Cherokee XJ… although, people usually just take off the end links before going off-road. Either way, I ordered a new sway bar kit with end links and hardware and a new track bar.
New stabilizer bar with end links and hardware – full kit (click for price)
I also replaced the blower motor resistor so all the fan settings work properly. The new part was only $20.23.

Automotive professional with over two decades of experience working on vehicles. Started out at a tire shop, moved to a dealership and now writing about automotive topics full time. I love working on cars and helping car enthusiasts by writing about my experiences.